The progress continues! Yesterday was one of those days where everything I touched on the boat just made things worse. It was the old one step forward three steps backward. Today was much better and maybe I dare say even productive.
Finally everything under the deck that needed to be done to install the cockpit deck has been. I finally was able to start a new chapter (literally in the manual) and proceed to the upper parts.
One of the tasks I had to complete is what to do about the separation of the foam flotation under the footwell. There are several schools of thought on how to tackle this area. I almost went with what the original Pocketship bloger
Dave but instead I went for maximum volume for storage and protect the foam.
Mostly pictures this post. Some of them may be only interesting to builders...
 |
| Added a seal (wall) in the lazarette. |
 |
| Covered with fiberglass and epoxy, added a fillet and a bit of bondo to smooth things out. |
 |
| A different view showing both sides. |
 |
Finished product sanded and painted
|
 |
| Footwell sole. |
There has been a bit of discussion among Pocketship builders about this footwell being a bit too narrow. Allegedly the designer is over 6 foot tall but has tiny feet. My size 12 is a little tight.
 |
Epoxy filled pendent hole. This is where the line to operate the centerboard will go through. It is located at the front of the footwell.
|
 |
| Added shims inside the centerboard trunk for the roller that the pendent line will roll on. |
 |
| Roller installed. |
 |
| Deadlights came in!!! |
 |
| Tip to builders...tape for squeezout. It is worth the tape and effort. |
 |
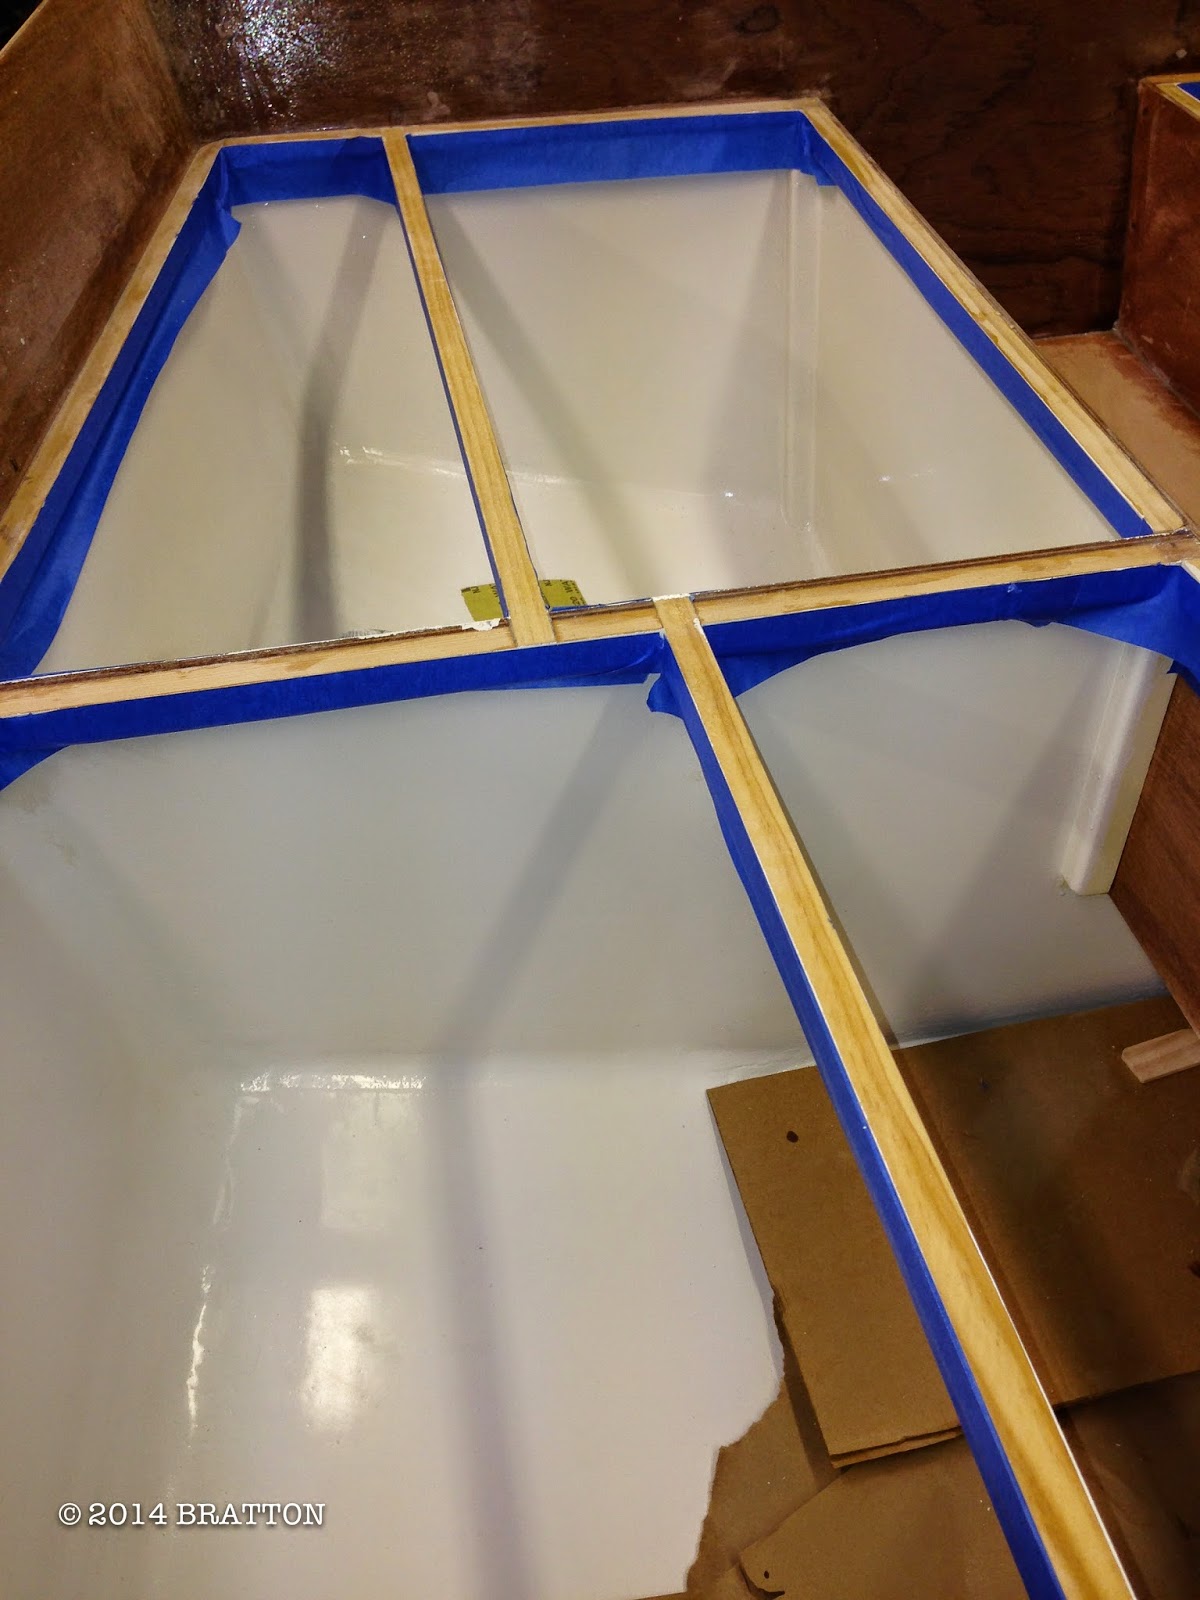
| Also tape the underside of the deck for squeeze out too. |
Tape the cleats and underside of the cockpit deck for squeeze out. After marking the cleat positions it is easy to tape. I gave myself about an 1/8th of an inch of room on both sides of the lines. Problem I had was being able to mark the underside in the hatch area without the hole for the hatch making the area sealed. I cut the hole (can be seen in picture above) where the deck hatch will be cut (but much larger) so I could get my hand and a pencil in to mark the underside. The hole was also was nice to reach in to scrape squeeze out too.
While waiting for paint or epoxy to dry I have been getting my electronics together and building a dashboard. More on that next post.
 |
| After a lot of fitting the cockpit deck goes on! Wow I need to clean the shop. |
 |
| View from underneath. The squeeze out tape doing its job! |
 |
Cockpit deck installed with wooden "washers".
|