The progress has been steady in the Shipyard since the last post. The anchor well at the bow of the ship has fiberglass and the breasthook installed. The Dorade boxes have been built and installed in the actor well area and decisions have been made concerning electronics and how to route wires. I also fitted the transom skirt. It seems a majority of the time I have been coating surfaces with epoxy. Every square inch of wood on this boat, inside and out, has been slathered with multiple coats. I think I may get carpal tunnel from all the stirring of the epoxy.
 |
| Laying up the cloth in the anchor well. |
 |
| Inside of the starboard dorade box in the anchor well. The timber epoxied on the inside is backing for a mooring cleat. |
A lot of the work has gone into the seat backs. Lots of framing, sealing with epoxy, and hand planing. Once the framing was built, the tops of the seat backs needed backers for the jib blocks to screw into. Kinda like a 2X4 for a towel bar behind the sheetrock in a bathroom. Massive ten inch long pieces of timber are epoxied in place to give the screws something to hang on to. Same thing at the aft end, but with a shorter 6 inch block for the mooring cleat and boom gallows. These blocks really make things feel solid.
 |
| The backing for the screws that will hold the jib blocks. On top of the transom the skirt can be seen. |
 |
| The aft end with the shorter backers for the mooring cleat and boom gallows. |
The forward area of the seat backs are filled with foam for safety flotation. The aft end of the seat backs have a little storage compartment. There are two different schools of thought of how to fill the seat backs with foam flotation. One method is to build everything but the leave off the cap of the top so that a mixture can be poured into the top that chemically reacts and turns into foam that takes on the perfect shape of the interior of the seat back with no voids. That sounds really cool to me and a lot of fun! The other is to cut foam insulation in little pieces and stack them inside the open area.
Well I had bought the stuff at the start of the build and never gotten up the nerve to use the stuff yet. I had read on other pocketship blogs about how great it was and how it can cause a mess. I was prepared! I looked for some technical data on the stuff and could not find anything, but who am I to read directions anyway. I had all my hazmat gear on and a plan of execution. I even tested a sample to see how much time I had for the reaction (not long according to my tests).
 |
| Looks like serious stuff. |
The first pour went really well. I mixed up about a quart of the stuff and quickly poured it in the seat back without spilling a drop. The reaction was taking place creating a bit of heat and began to fill the compartment. It was kinda like bread rising, except I was wearing a respirator, rubber gloves, safety glasses...well it looked like fresh rising bread.
 |
| See it does look like bread. |
I was really happy with the stuff and continued on to round two of the pour. I figured I was getting pretty close to the top, so I went with a much smaller batch to fill the rest of the area. Well not small enough. Turned out the first batch was not finished rising and the second batch was a bit bigger than it should have been (ok more than a bit). Things changed from a scene in a lovely bakery into horror scene from "The Blob" very quickly. I had huge gobs of foam overflowing over the sides with volcanic ferosity (ok not that bad but it just kept coming!). It was spilling inside to the cockpit and overboard down the side on onto the floor but not before covering my shoes first. I decided that spilling overboard was the lesser of two evils and pushed the emerging mess with a 14" 1X4 away from the cockpit. At this point I was really regretting my decision to use this toxic blend of horror. Having not swept my floors in a while, the mess was compounded by all the wood shavings created by my hand plane. With the foam coating the bottoms of my shoes, these curly shavings were now stuck to the bottom of shoes because not only is this stuff toxic, it is sticky too. Now that the goo has hardened this compound of shavings and hardened foam has become one with my shoe soles.
Finally the chemical reaction subsided and I was left with a pretty good mess.
 |
After the reaction stopped.
|
 |
| Looks like the boat got sick. |
You may notice the blue tape in the pictures. I put the blue tape on the are that I plan to leave bright when I finish the boat. I figured if I keep it covered it will lessen the chance of epoxy spills and whatever from keeping the wood from looking uniform once the varnish goes on. Well it paid off for this episode.
Now for the upside of this event. Everything came out fine. The floor scraped up clean without too much effort and the foam leveled off nicely and looks great. I am really happy with the results.
 |
| Cleaned up nice! |
On the starboard side I decided to go the route that the manual endorses ... i.e. cut foam. I did this not because I was afraid of the expanding stuff (hell, I was on my way of master of the product) but because of some wiring and conduit I installed on the starboard side. I cut piece after piece of foam insulation until I filled the void. Not nearly as much fun, and none of the trauma, but done none the less. I epoxied on the seat back over the foam and called it a night.
 |
| All filled up. |
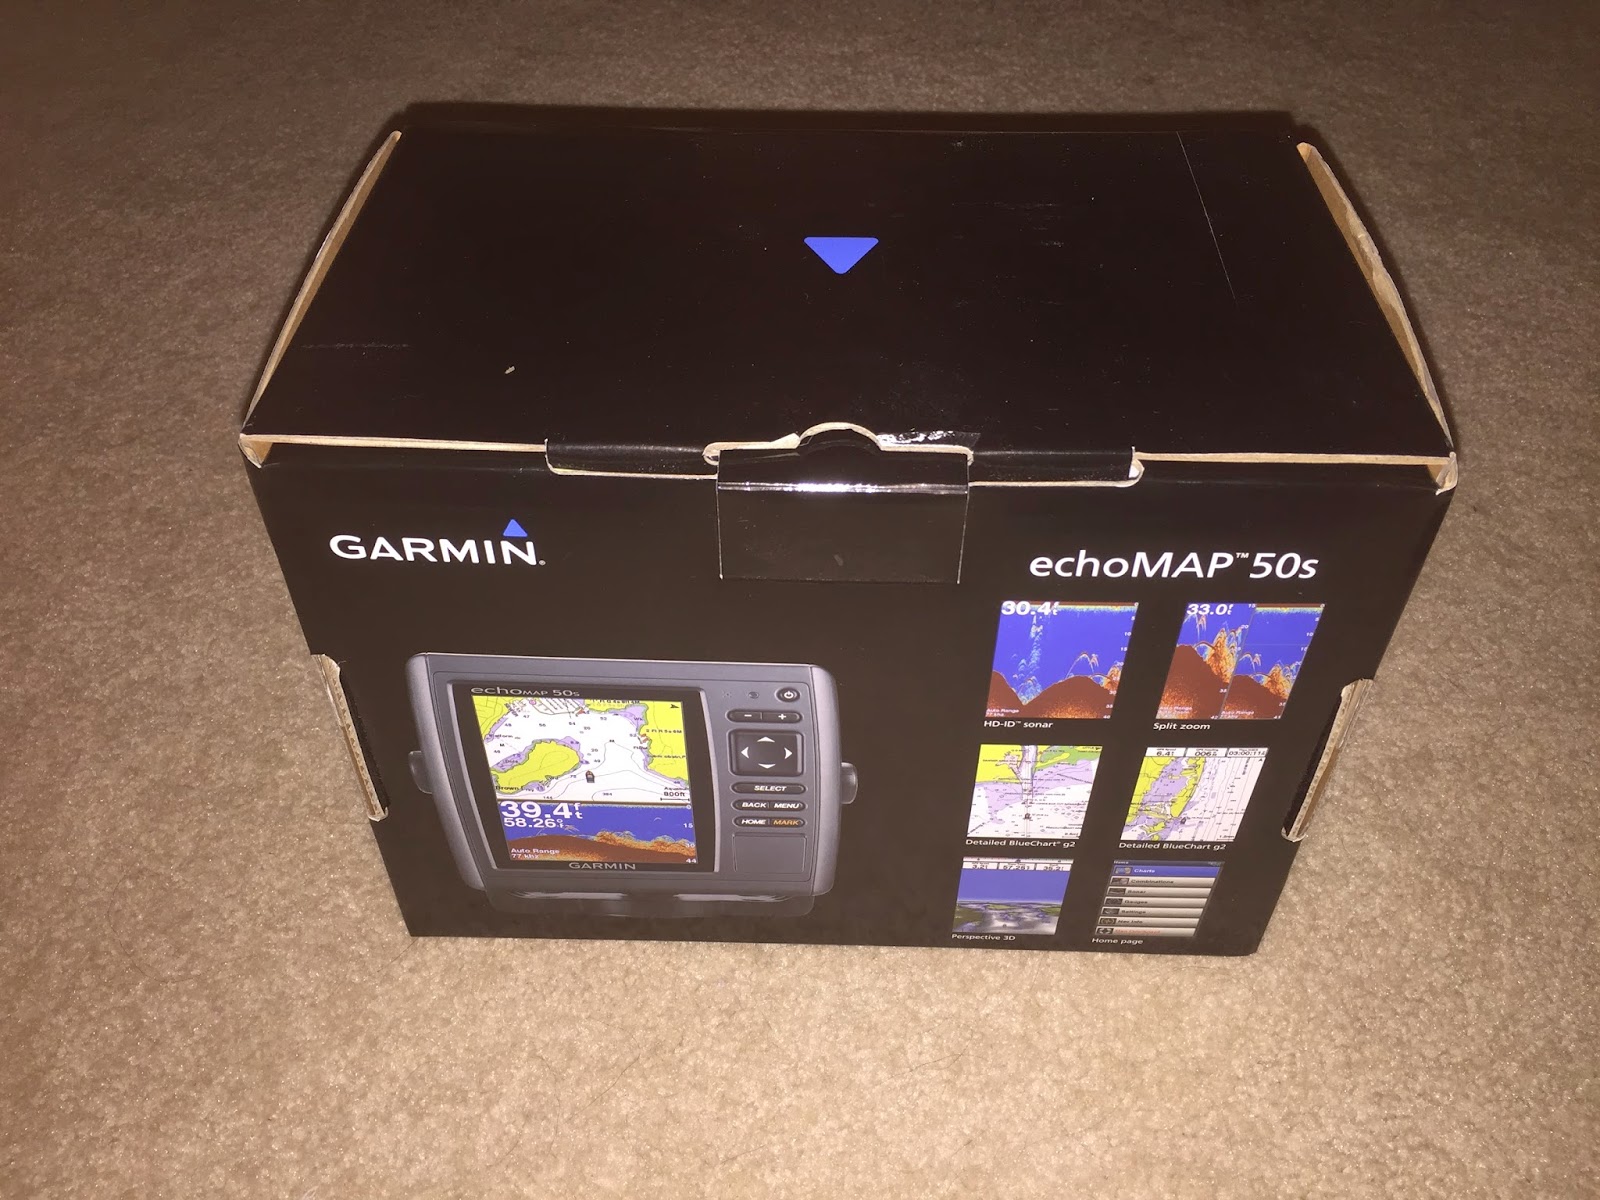
Santa brought some electronics. More on that later...
No comments:
Post a Comment